Create Google application
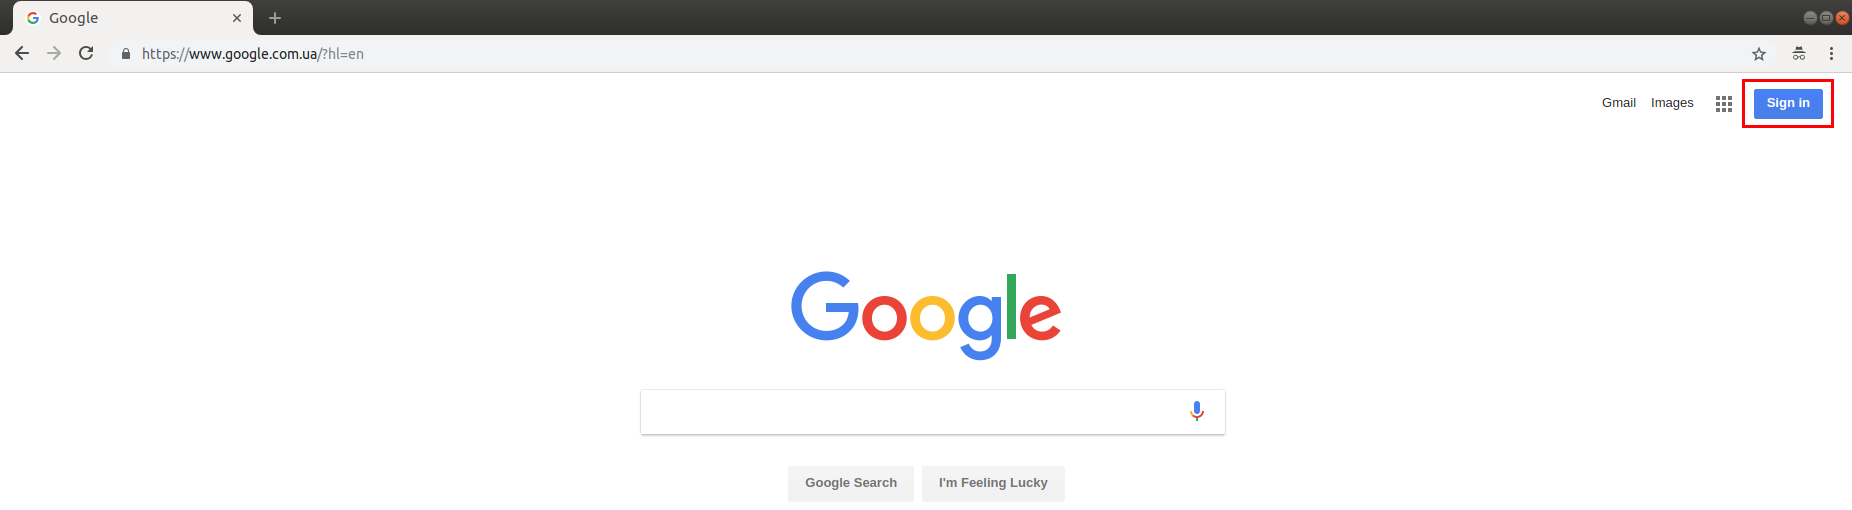
1. Goto https://www.google.com, and press 'Sign In' button.

3. Enter your password and click 'Next'.

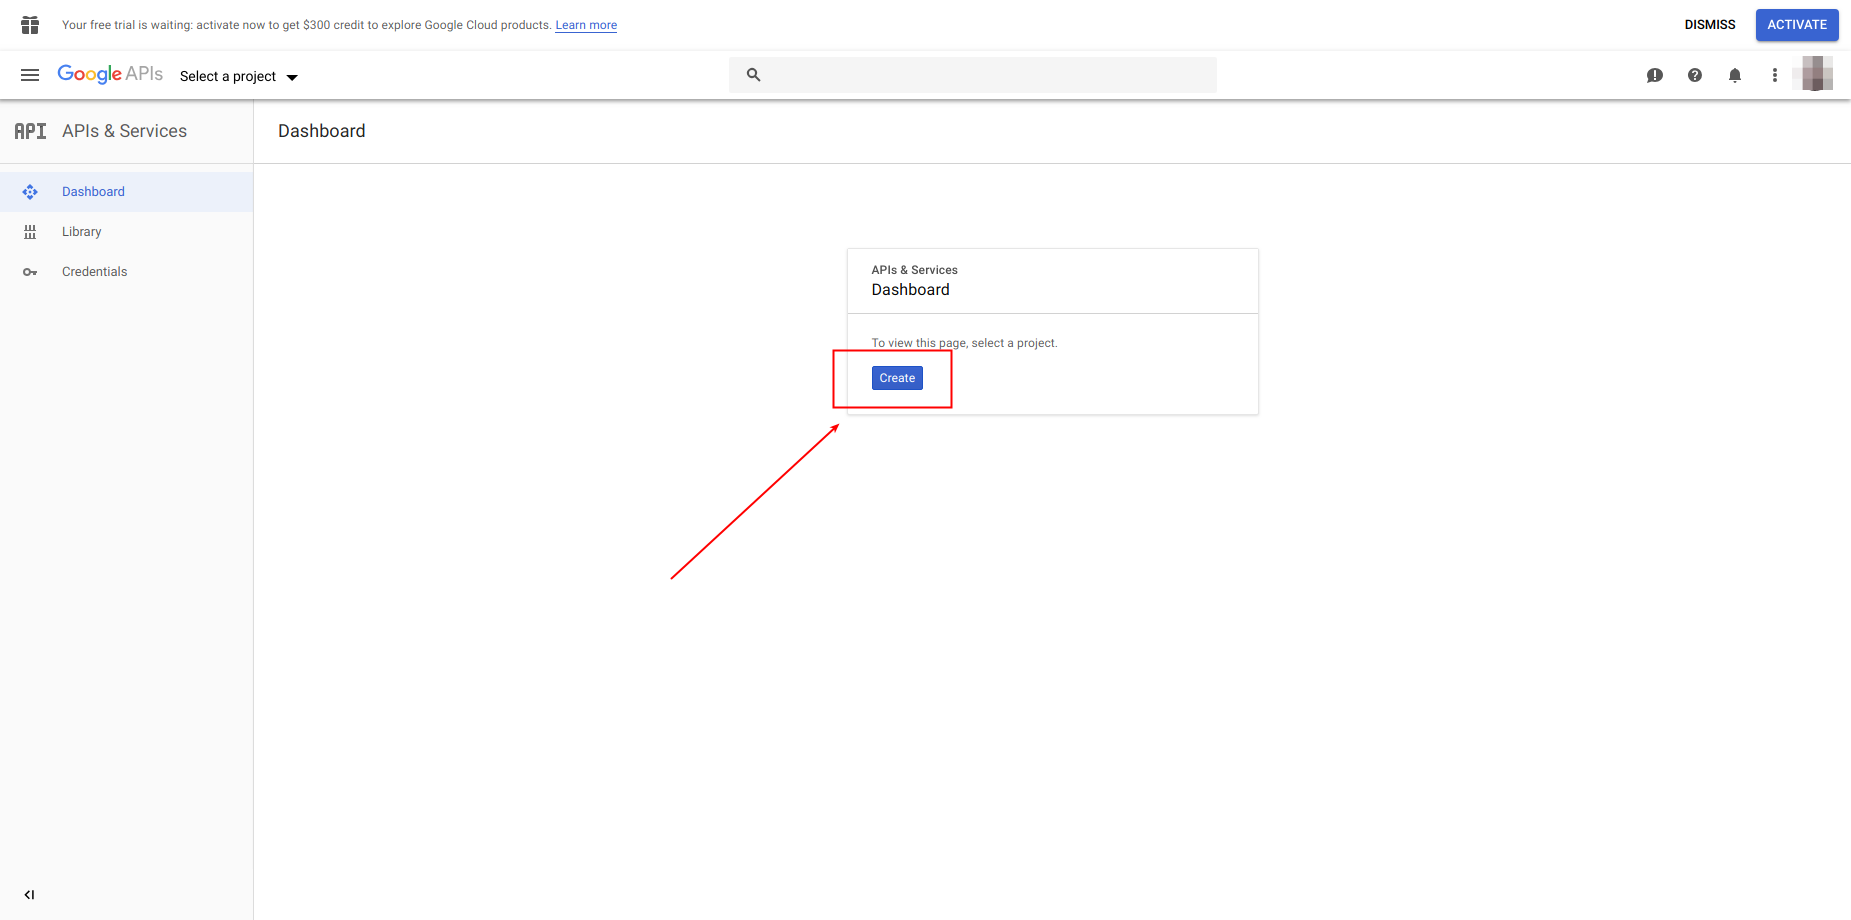
4. Goto https://console.developers.google.com/projectselector/apis/dashboard, and click 'Create' button.
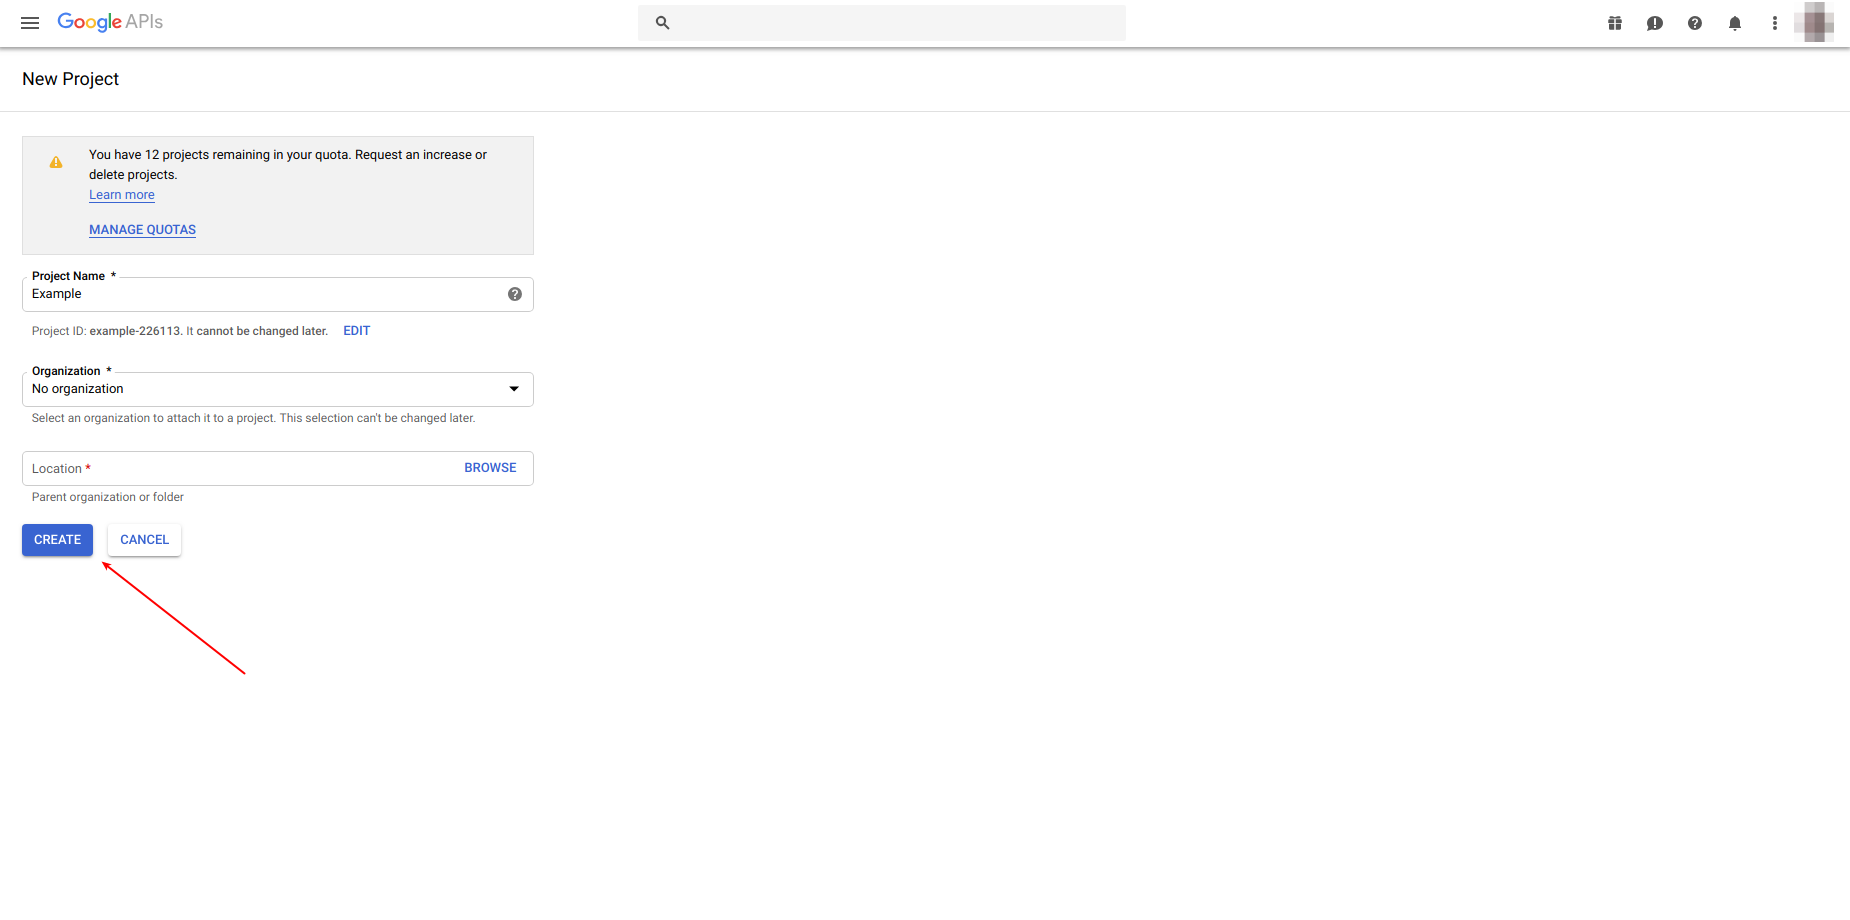
5. After redirecting to the new page, input your project name and your organization data. Click 'CREATE' button.
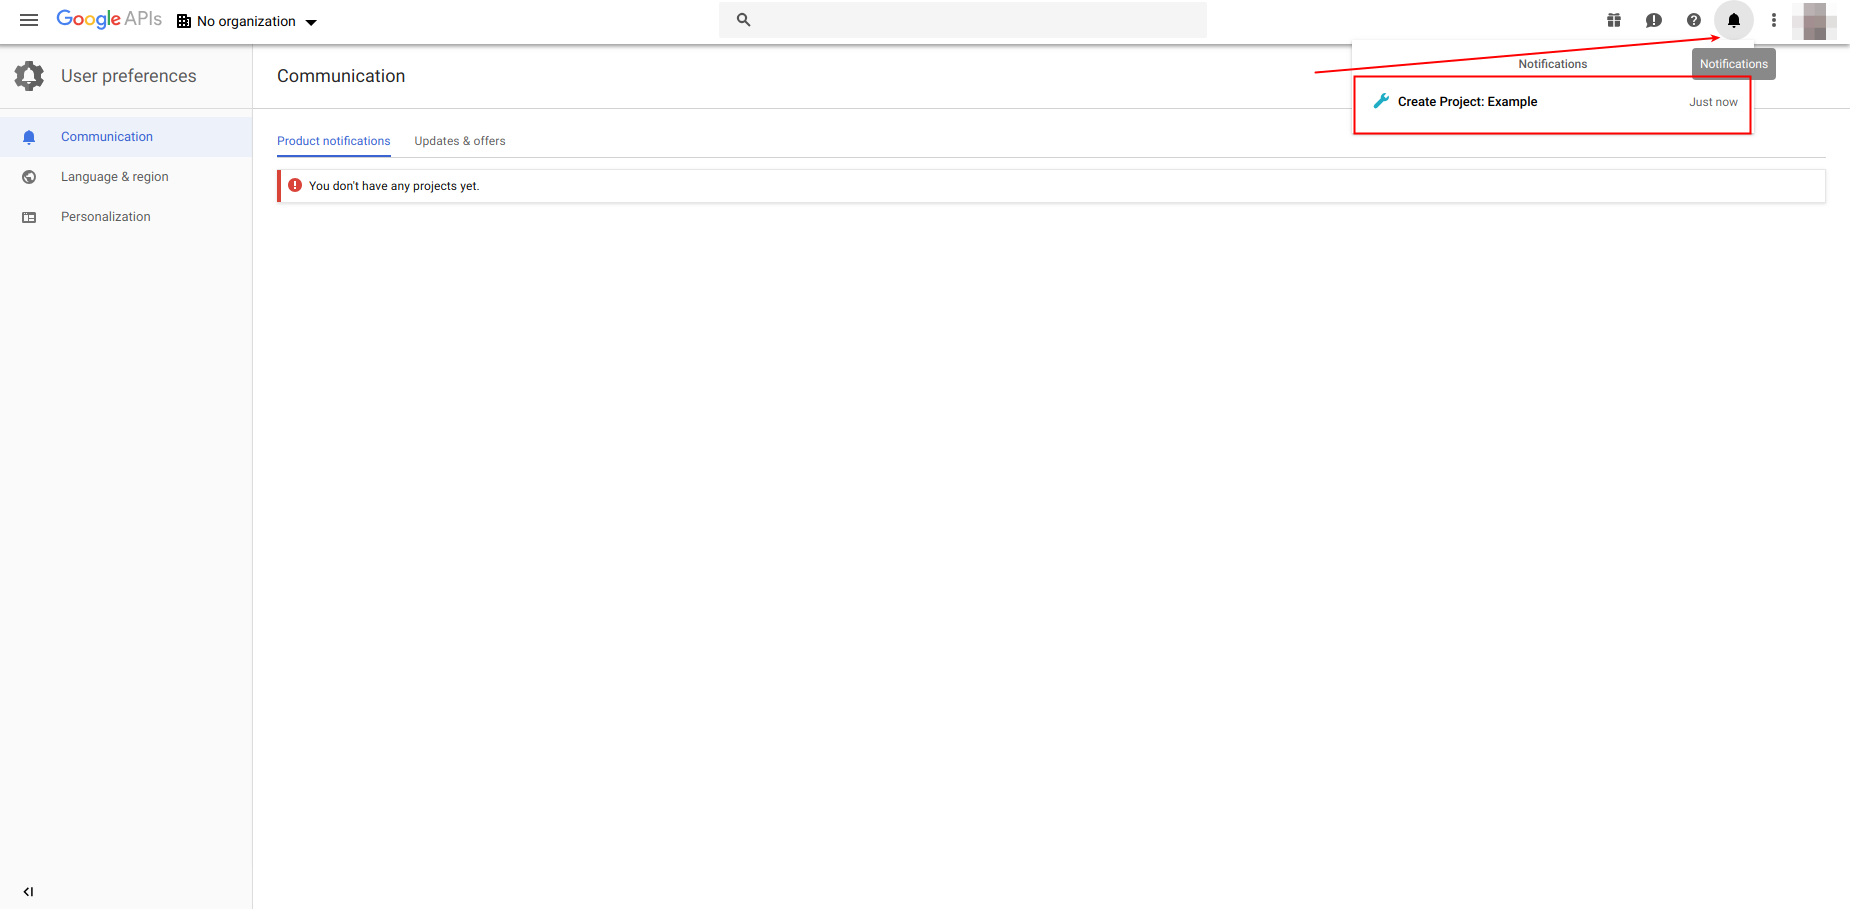
6. Wait until your project is created. You could check for the status of creation in notifications
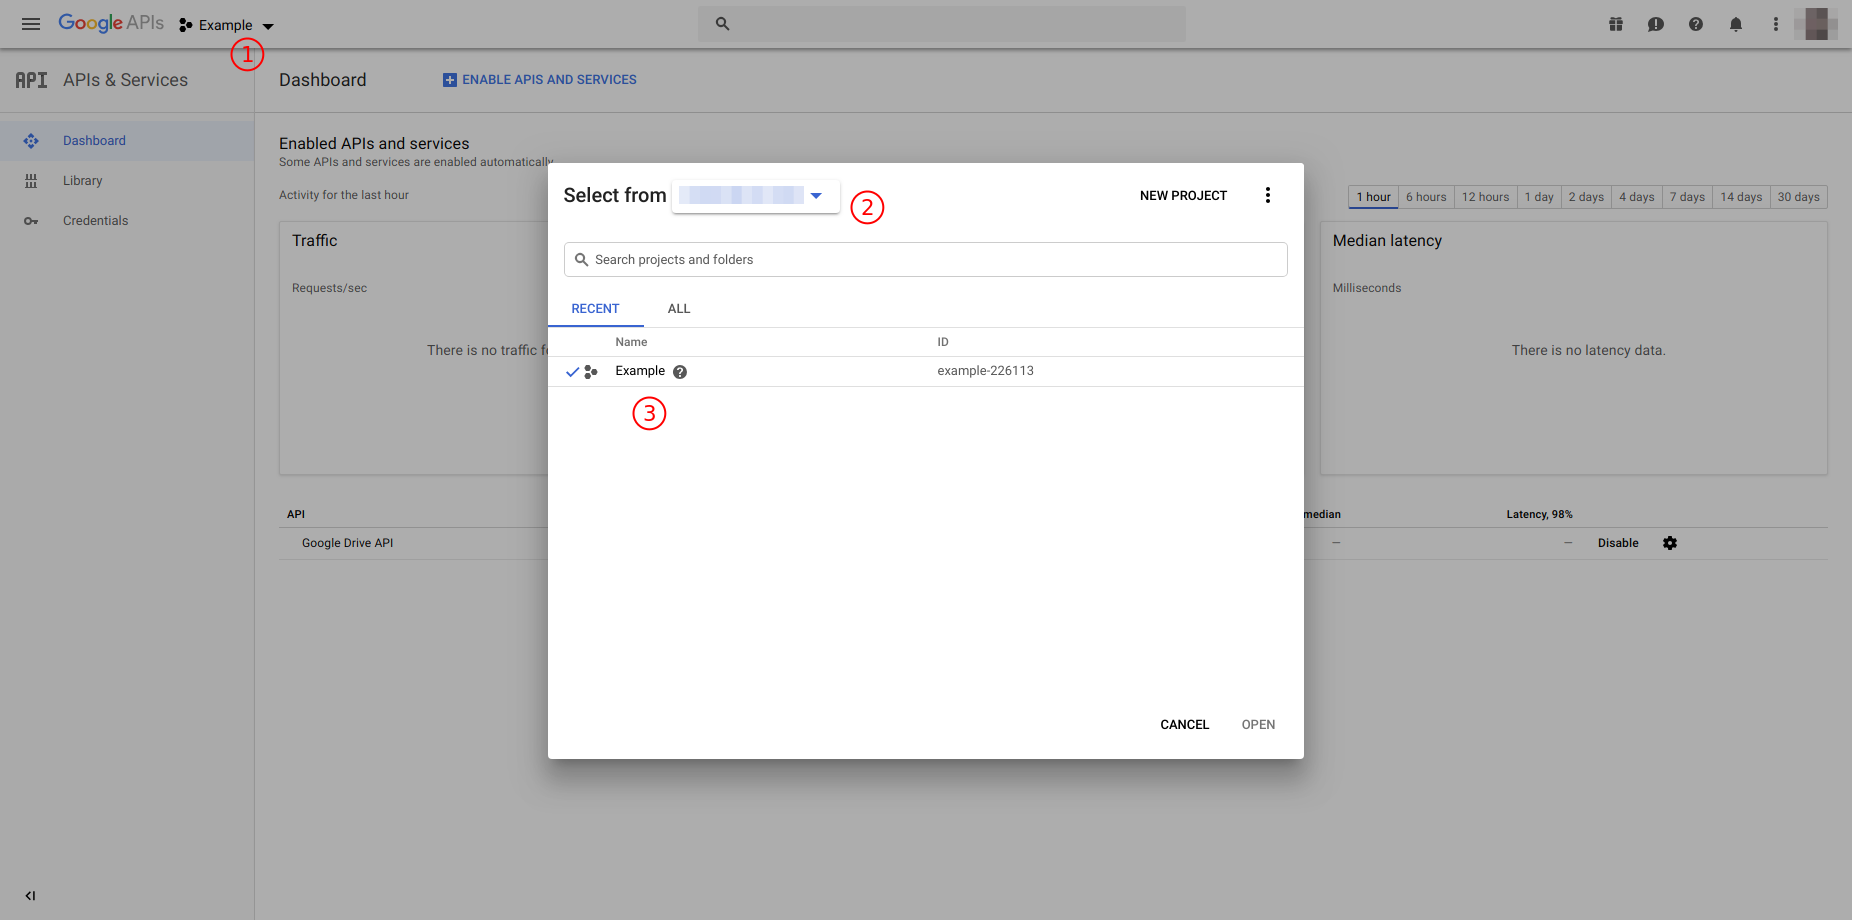
7. Once your application is ready, click on dropdown(1), chose your organization(2) and project you have created(3).
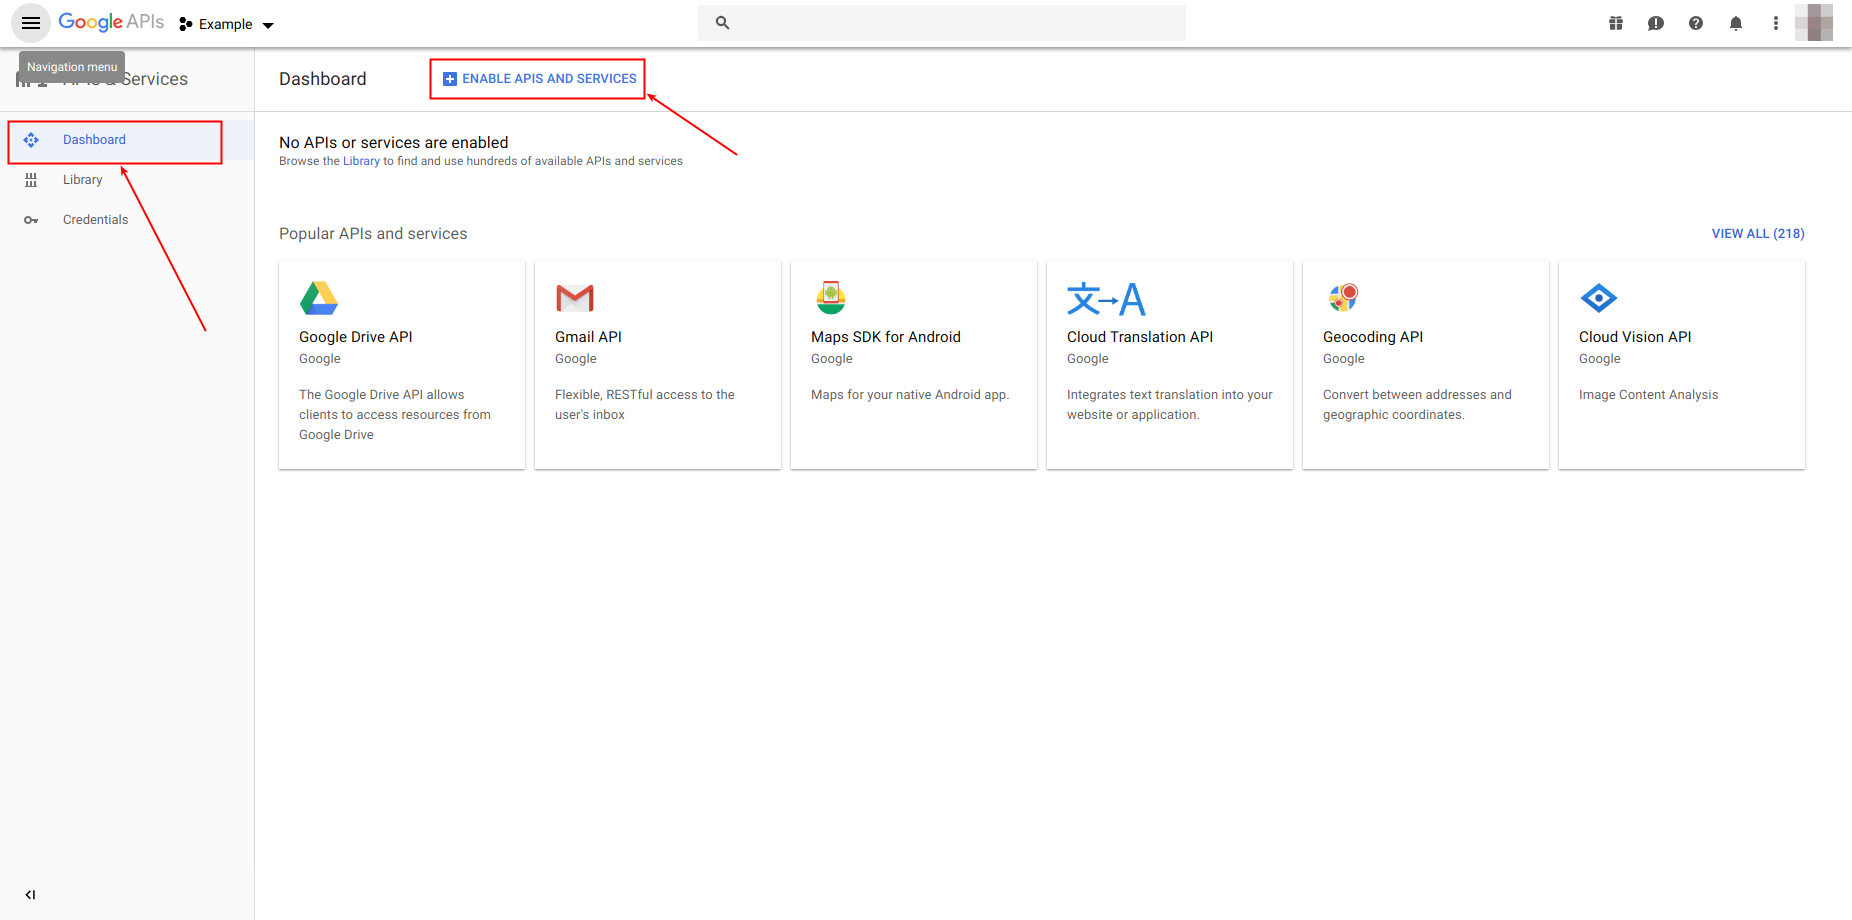
8. Go to dashboard and click on 'ENABLE API AND SERVICES'.
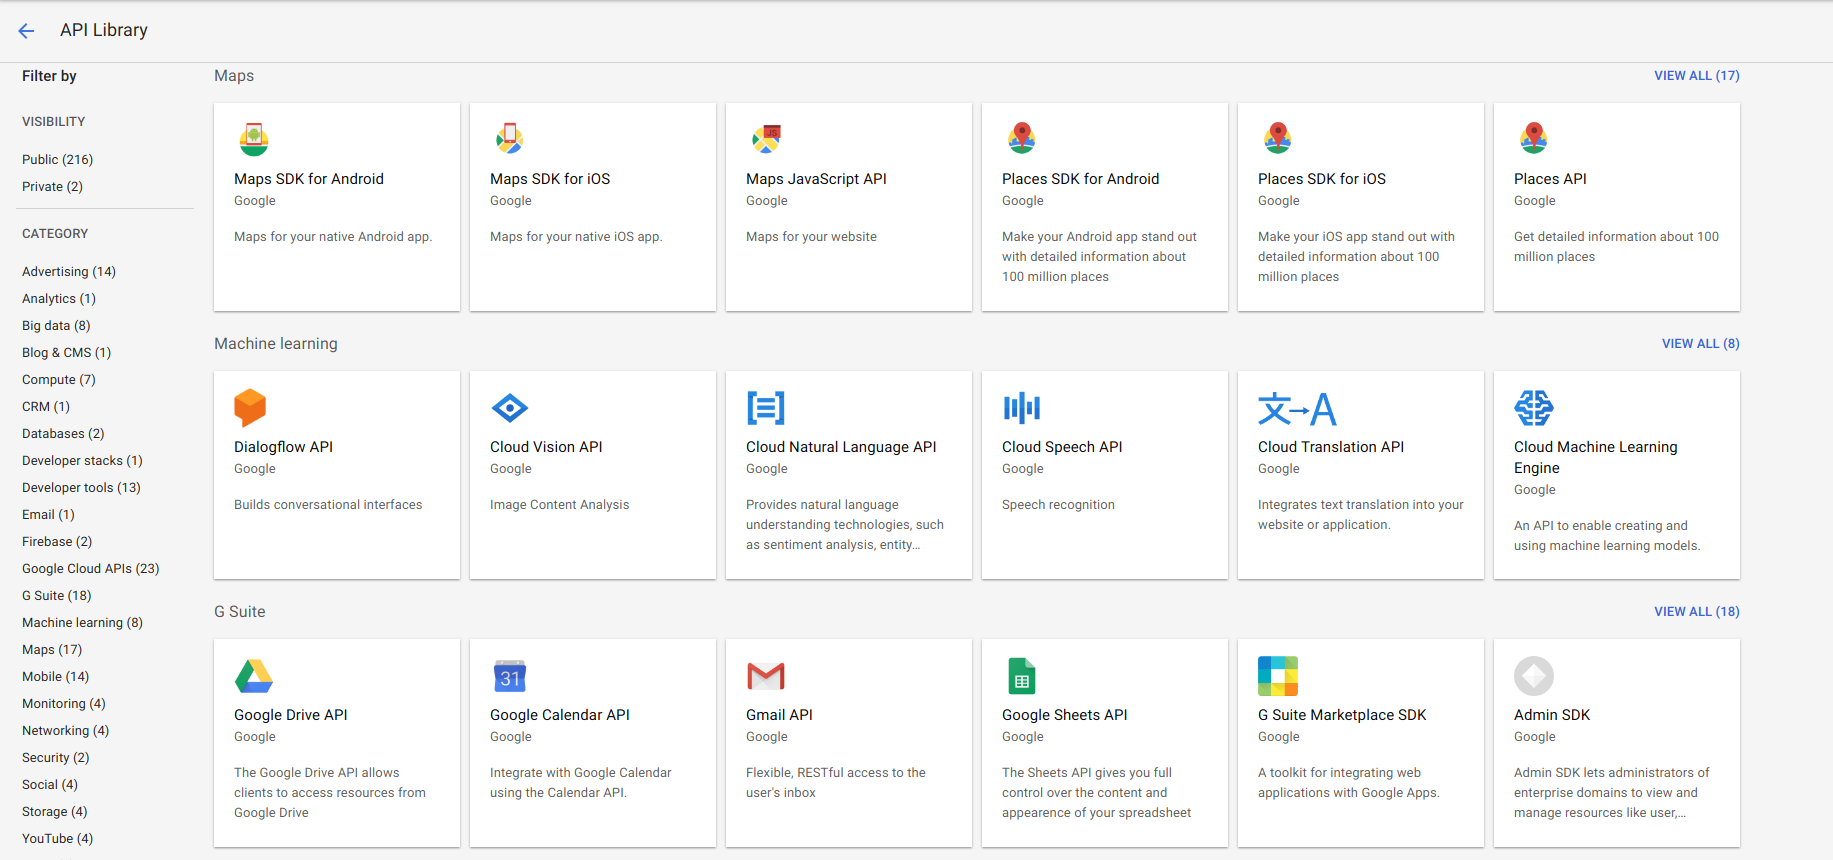
9. Search for API you want to use and enable it.
10. Click on credentials on the left menu.

11. Open 'OAuth consent screen' tab, input all of the information about your application.
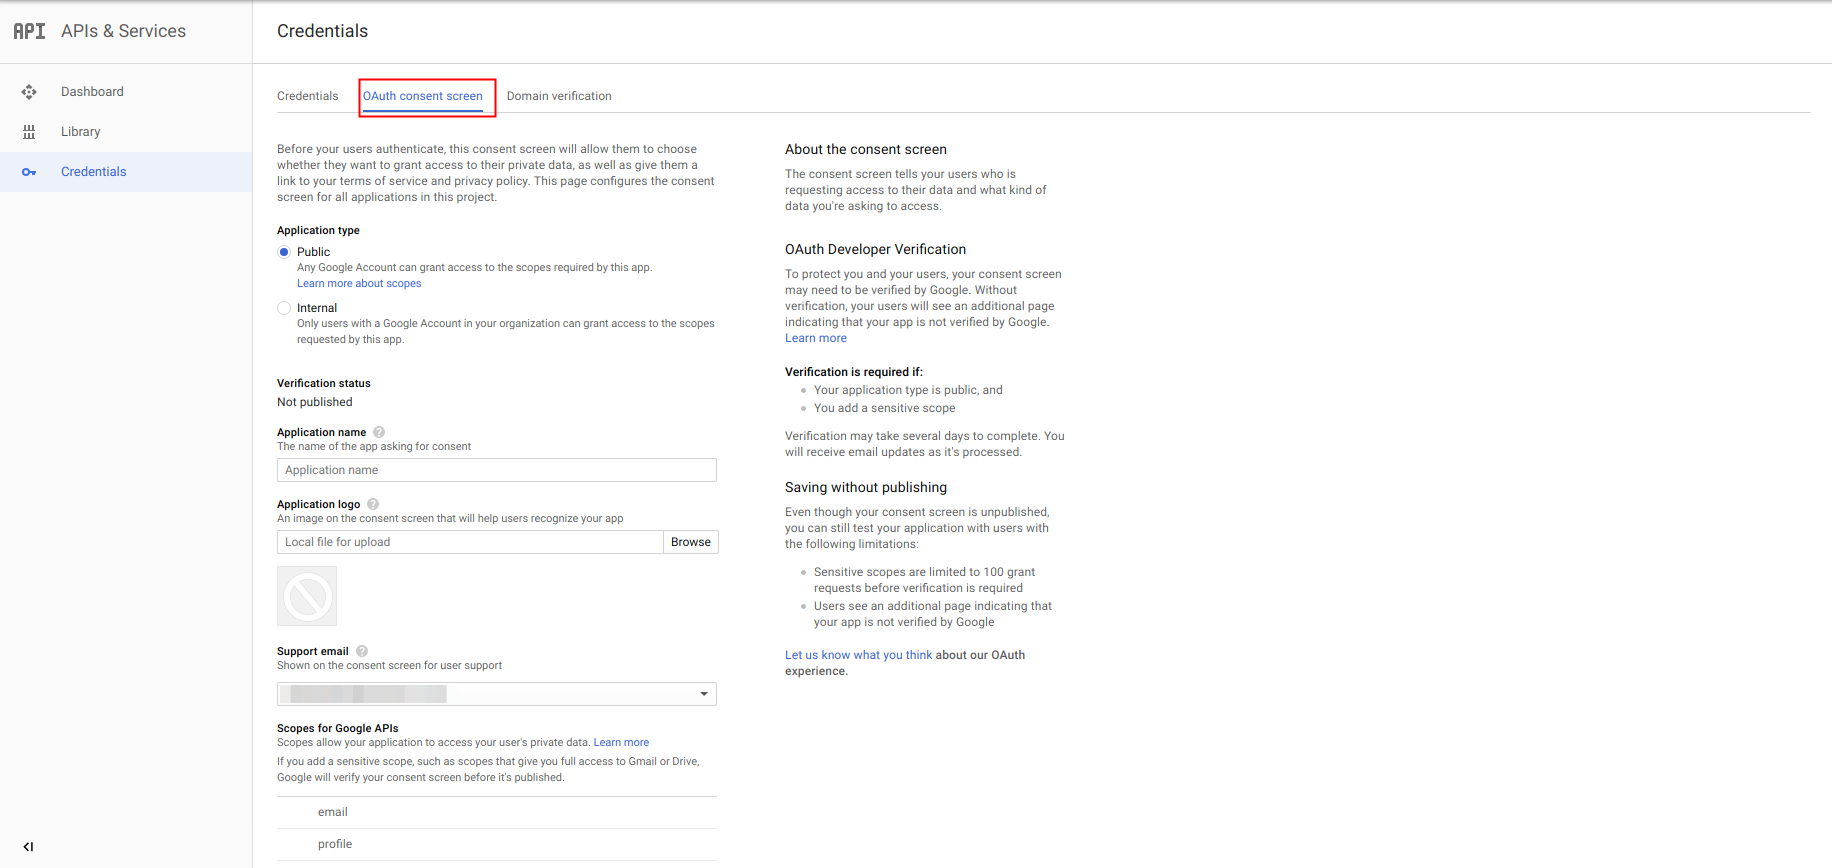
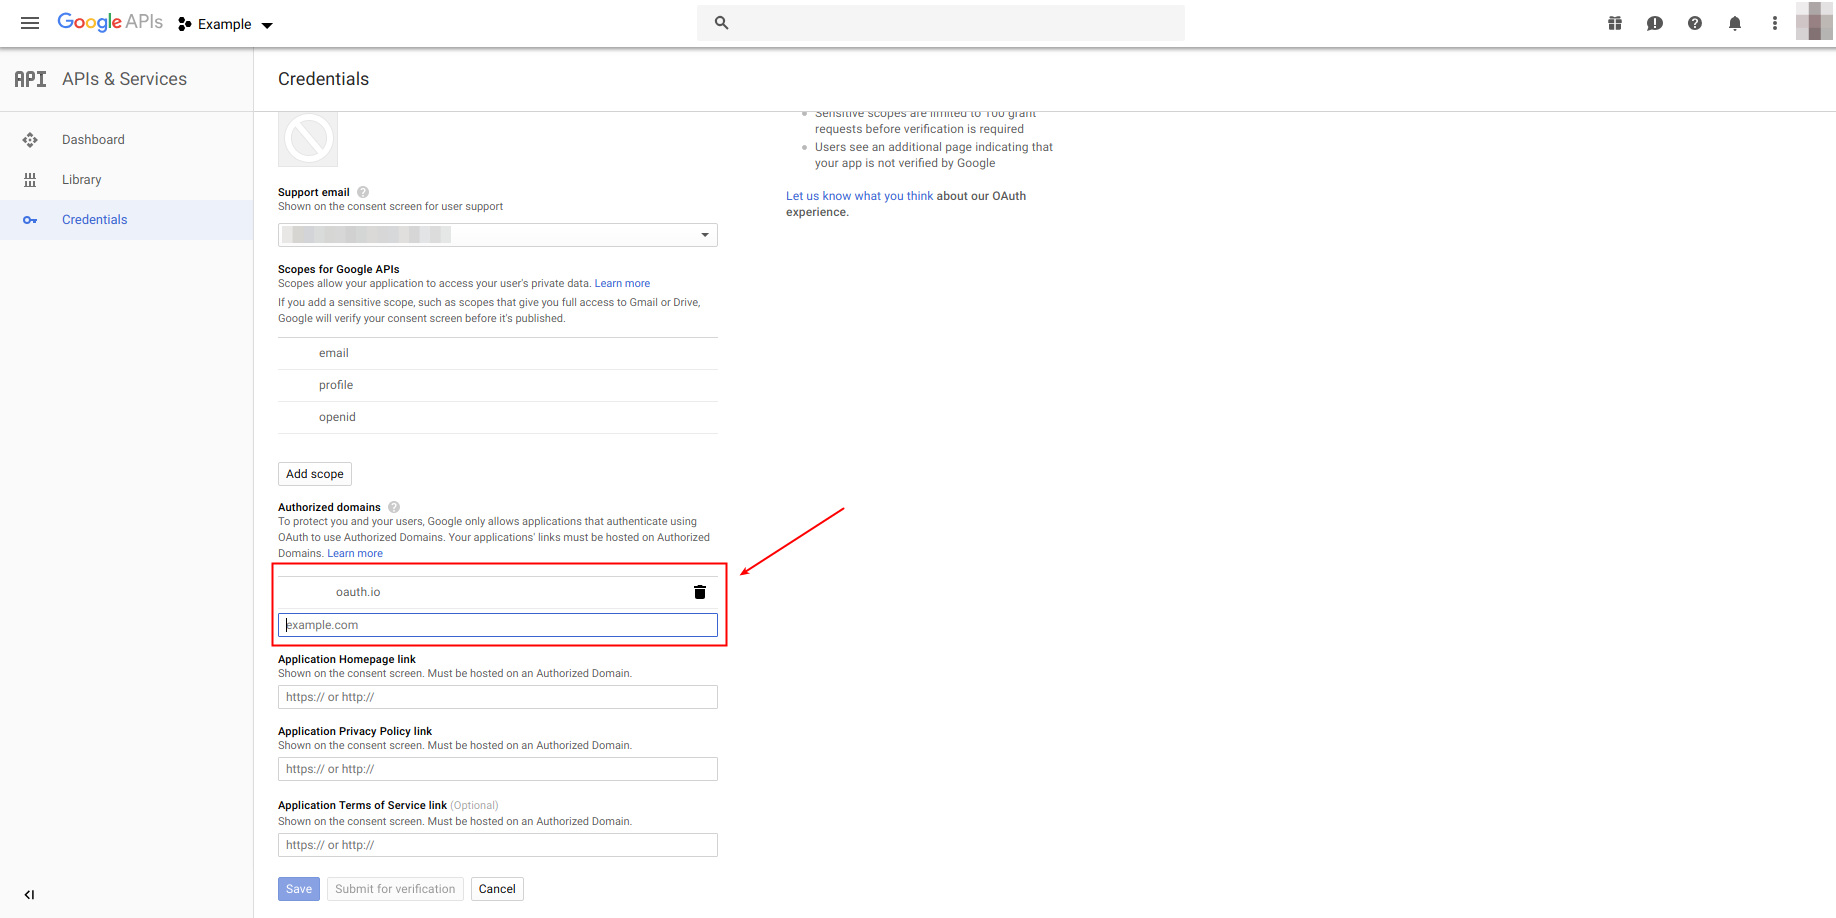
12. Add oauth.io to an authorized domain.
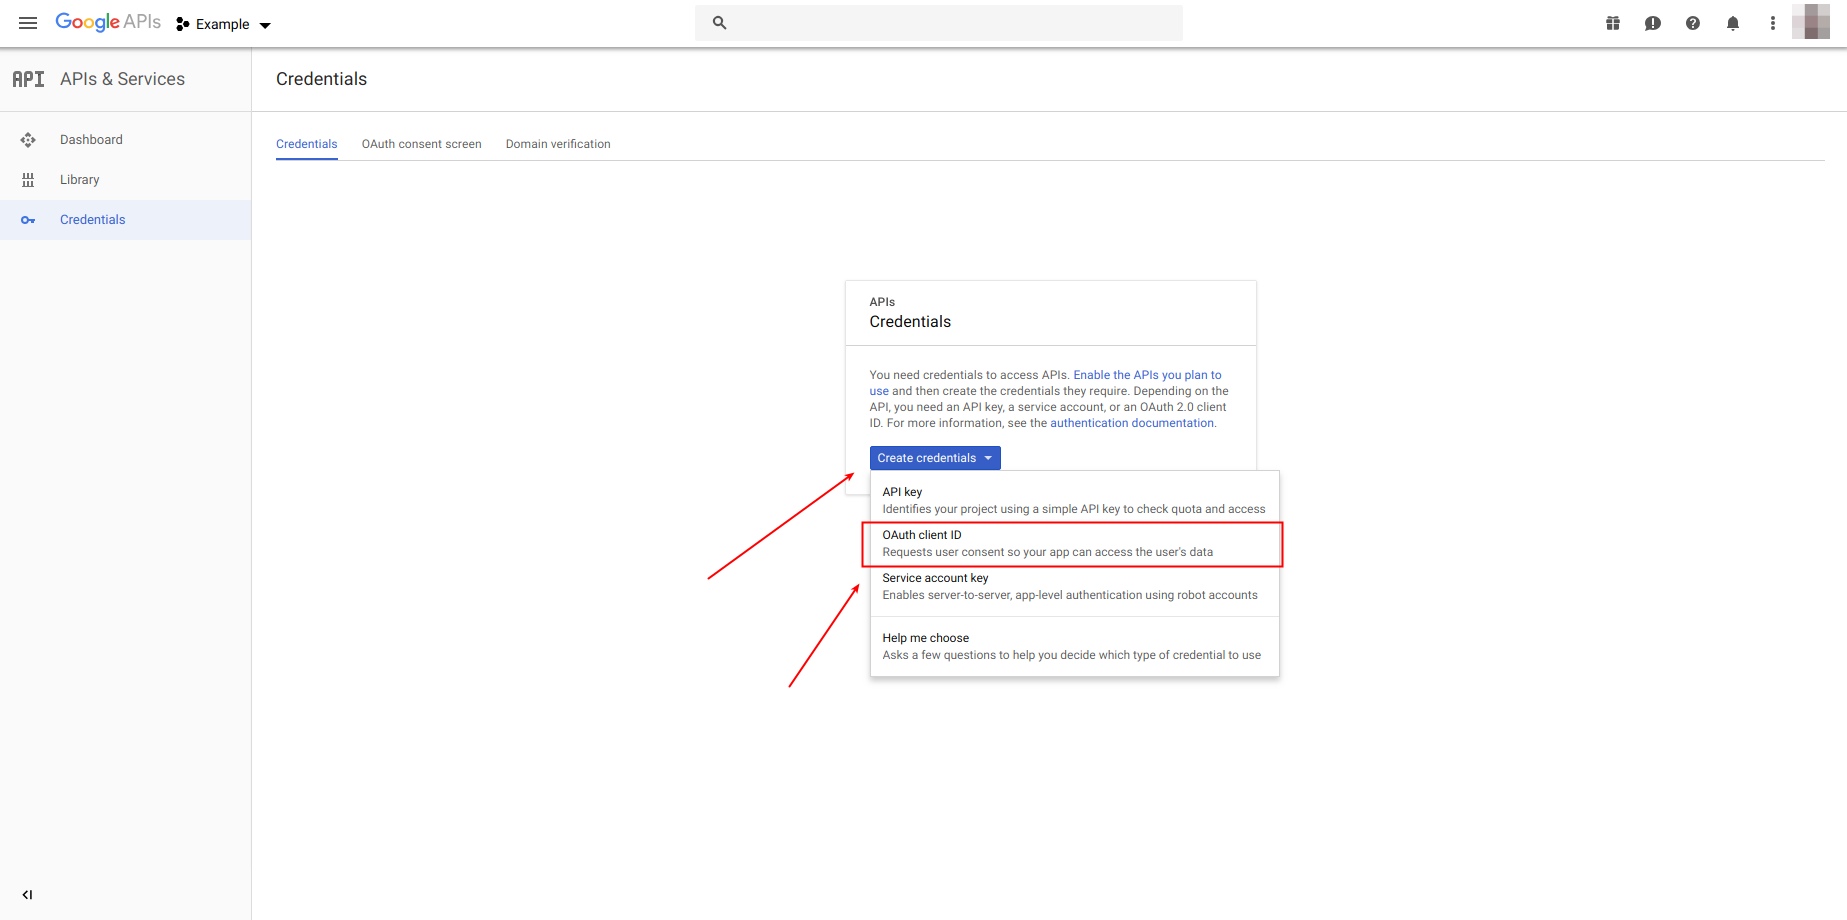
13. Open Credentials tab, click 'Create credentials' and choose OAuth client ID.
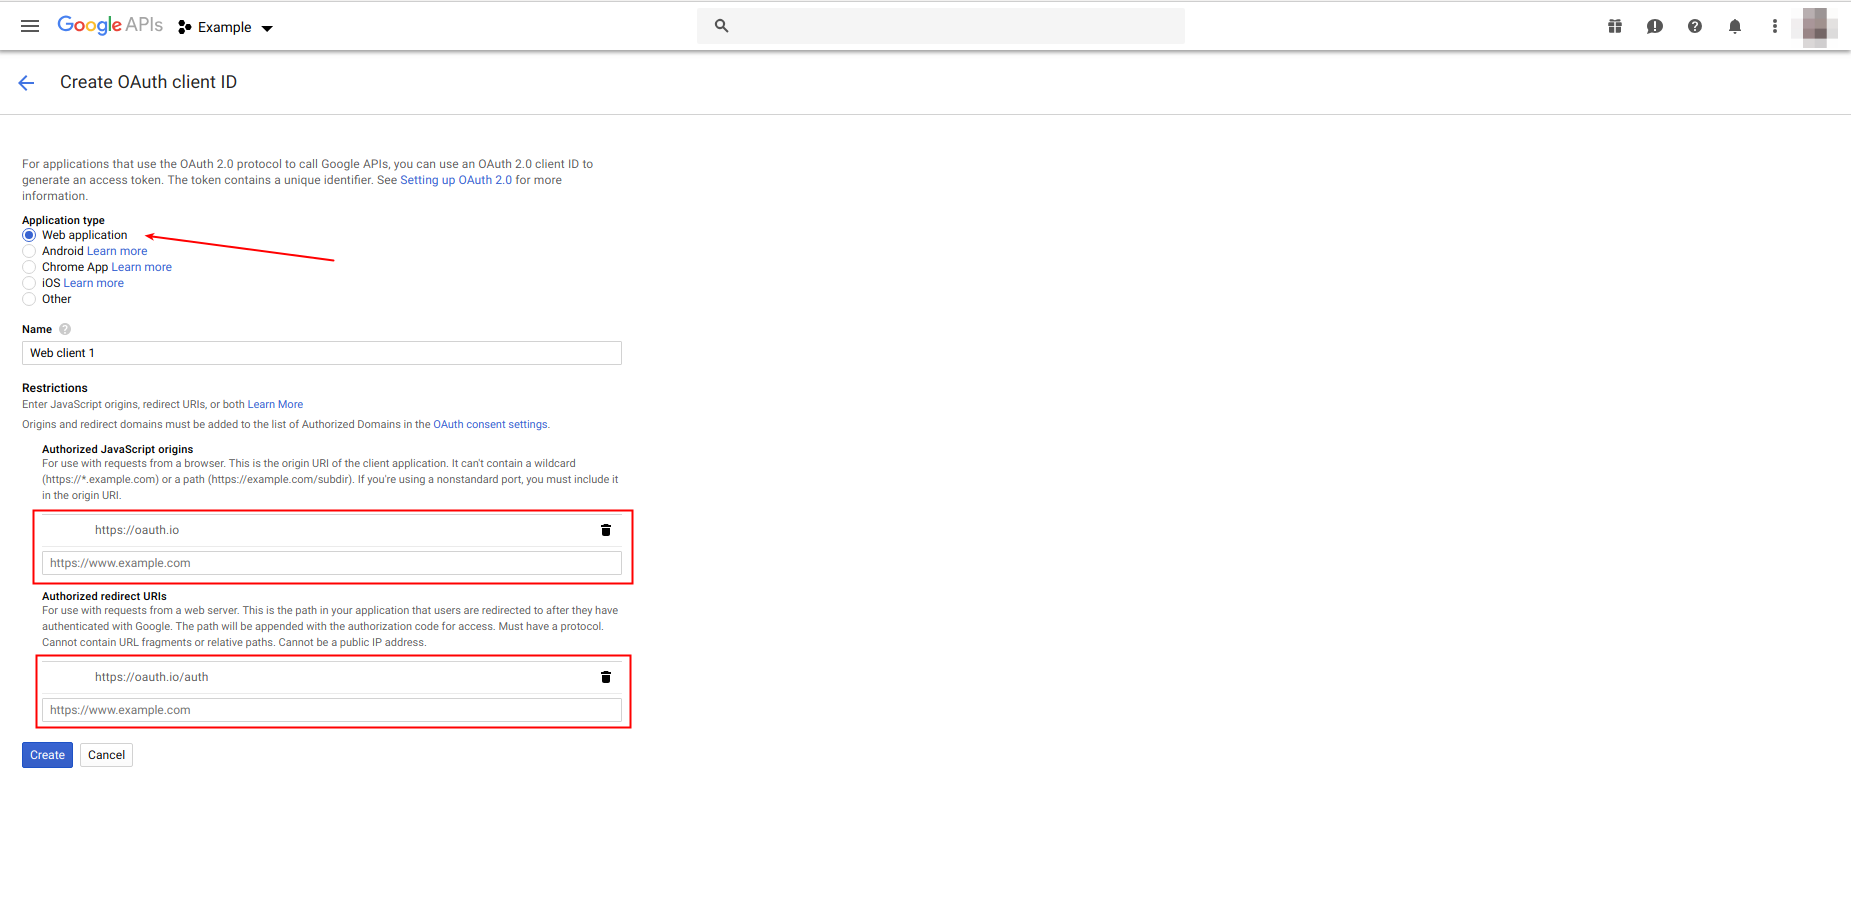
14. Chose 'Web application' option, add https://oauth.io to an Authorized JavaScript origins and https://oauth.io/auth to an Authorized redirect URIs.
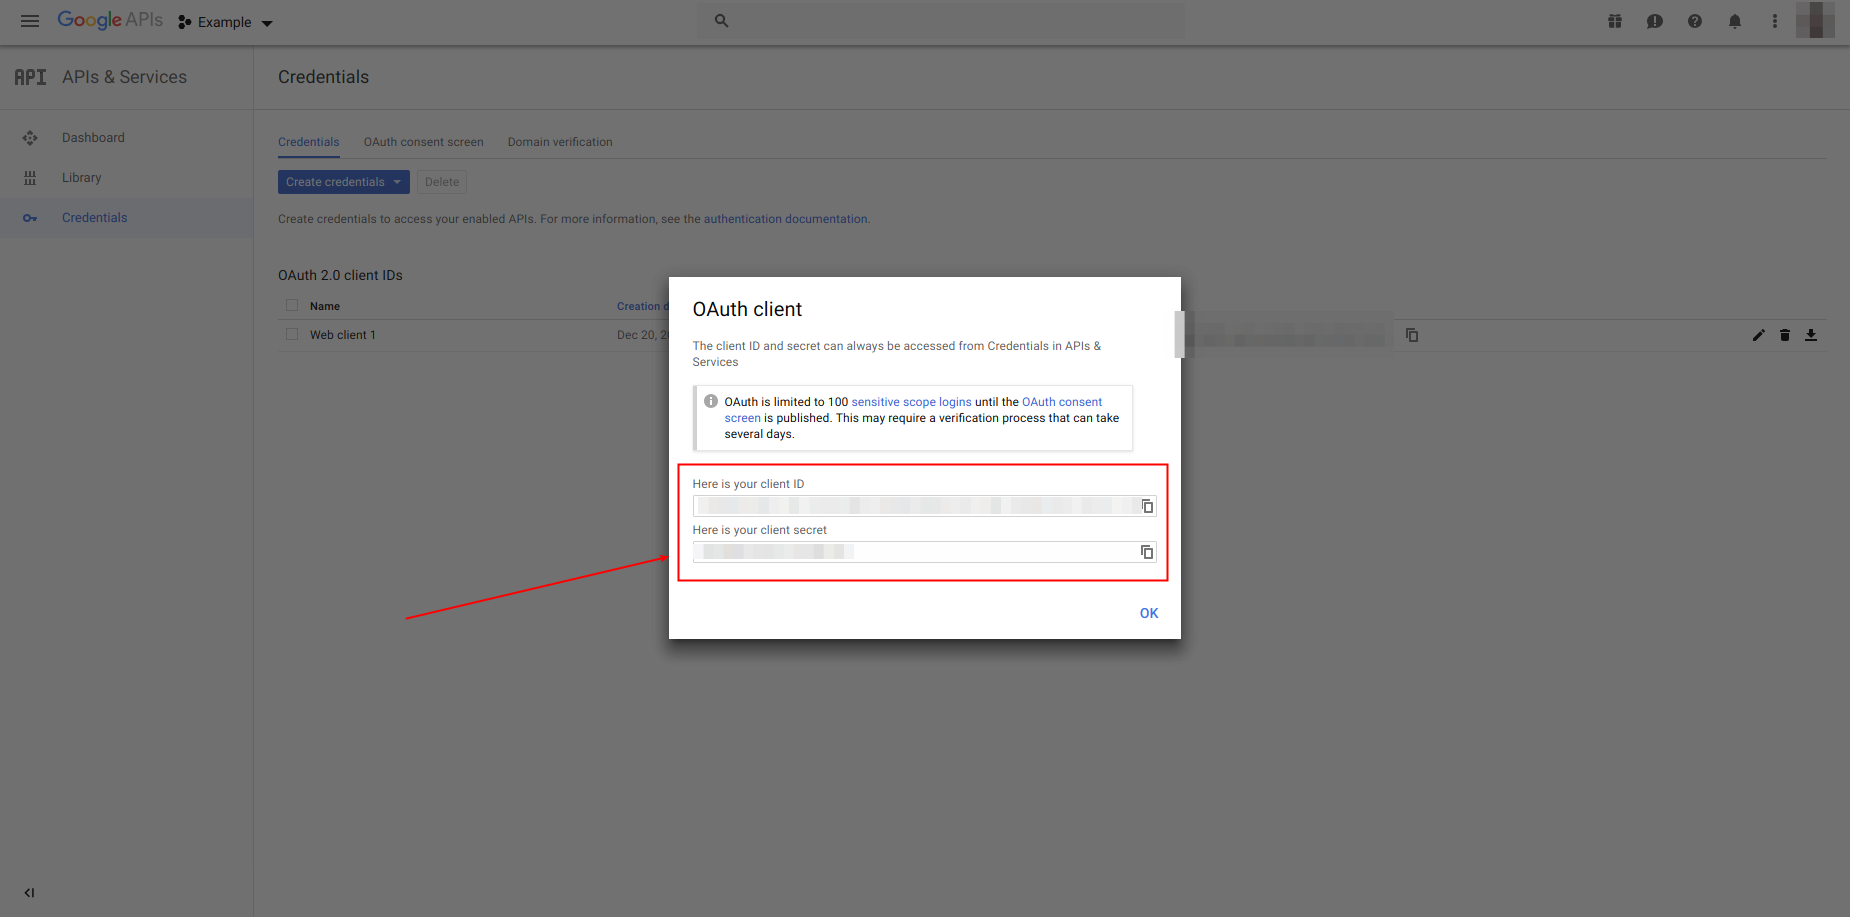
15. After clicking 'Create' button, your application credentials will be shown.